That puddle by your boiler isn’t just a nuisance; it’s a critical symptom. The leaking relief valve is rarely the problem itself but a sign that your heating system can no longer manage pressure changes from thermal expansion. The true culprit is almost always a failed or improperly maintained expansion tank, which acts as the system’s lung. This guide will teach you to diagnose the issue like a technician, saving you from repeat failures and costly emergency calls.
There’s a specific kind of dread that comes with finding an unexpected puddle of water on your basement floor, especially when it’s near your boiler. Your first thought might be that a pipe has burst. Then you spot the source: a slow, steady drip from a small brass valve. This is the pressure relief valve, and its job is to protect your system from catastrophic failure. Many homeowners assume the valve itself is faulty, replace it, and breathe a sigh of relief—only to find the new one leaking a few weeks later. This approach treats the symptom, not the disease.
The reality is that a leaking relief valve is your boiler’s way of crying for help. It’s signaling a deeper issue within your hydronic system’s pressure dynamics. The root cause almost always lies with a component designed to absorb these pressure swings: the expansion tank. Think of this tank as your system’s lung; it needs to be able to “breathe” to accommodate the water as it heats up and expands. When this lung fails, the pressure has nowhere to go but out through the safety valve.
But simply saying “it’s the expansion tank” is another oversimplification. Is the internal bladder punctured? Is its air charge incorrect? Is it even the right size for your home? Understanding these distinctions is the key to a permanent fix. This guide will walk you through the diagnostic process of a professional heating technician. We’ll dissect the role of the expansion tank, show you how to read your system’s vital signs, and explain the physics of pressure so you can pinpoint the true source of the problem before you make an expensive emergency call.
To properly diagnose the cause of your leaking valve, we will explore the key components and principles governing your heating system’s pressure. This structured approach will help you understand the ‘why’ behind the problem, not just the ‘what’.
Summary: Diagnosing a Leaking Boiler Relief Valve
- Expansion tank full of water: how to know if the rubber bladder is punctured?
- Air pressure: why must you charge the expansion tank when it’s empty of water?
- Expansion volume: what happens if your tank is too small for your system?
- Point of zero pressure change: why is the tank’s location relative to the pump vital?
- Potable thermal vs. heating tanks: don’t confuse the colours and pressures!
- The Tridicator gauge: how to read your system’s health at a glance?
- High water pressure: why does it damage your appliances?
- Why Does an Emergency Plumber Cost 3x More Than Scheduled Maintenance?
Expansion tank full of water: how to know if the rubber bladder is punctured?
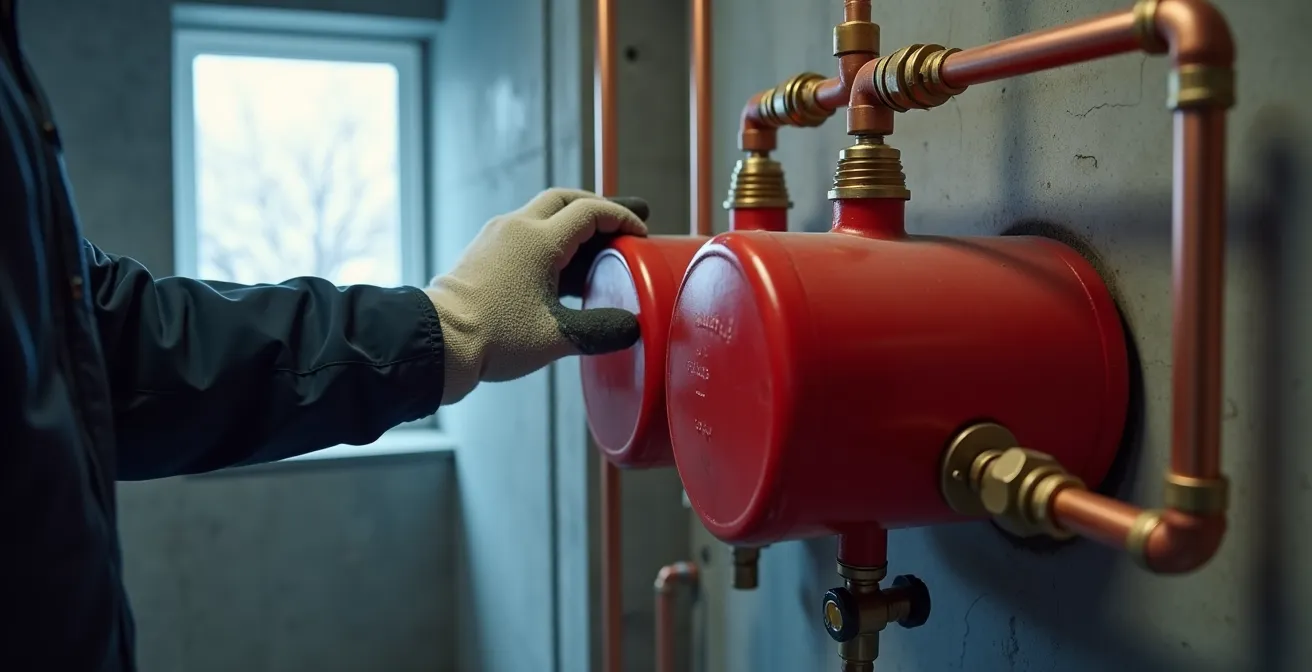
The most common cause of a chronically leaking relief valve is a failed expansion tank, often called a “waterlogged” tank. Inside most modern tanks is a heavy-duty rubber bladder or diaphragm that separates the system’s water from a cushion of pressurized air. When the boiler heats the water, it expands; this expanded volume pushes against the bladder, compressing the air on the other side. When the water cools, the air pressure pushes the bladder back. If this bladder ruptures, water fills the entire tank, eliminating the air cushion. Without this “lung,” the slightest increase in temperature causes a rapid, uncontrolled pressure spike that forces the relief valve to open.
So, how can you diagnose a punctured bladder? There are two simple field tests. First, with the system off and cool, gently tap the top and bottom of the tank with your knuckle. The top half, where the air should be, ought to produce a hollow, resonant sound. The bottom half, with the water, will sound like a dull thud. If both top and bottom produce the same dull thud, the tank is likely full of water. The second, more definitive test involves the air valve (the Schrader valve, like on a bicycle tire) on the tank. With a small tool, briefly depress the pin. If a burst of air comes out, the bladder is likely intact. If water spits out, even a small amount, the bladder is compromised and the entire tank must be replaced. This was precisely the issue in a documented case where a boiler’s pressure repeatedly climbed above 30 PSI; only after replacing both the relief valve and the failed expansion tank was the problem solved.
Your 5-Point Diagnostic Plan for a Leaking Relief Valve
- Observe the Symptom: Note exactly when the valve leaks. Is it only during a heating cycle, or is it a constant drip? A leak during heating points strongly to thermal expansion issues.
- Check Static Pressure: With the system completely cold, look at your pressure gauge (Tridicator). It should read between 12-15 PSI for a typical 1-2 story Quebec home. A much higher reading indicates a problem.
- Test the Expansion Tank: Perform the “tap test” described above. Then, briefly and carefully depress the air valve pin. If you get water instead of air, your diagnosis is clear: the tank has failed.
- Monitor Dynamic Pressure: Watch the pressure gauge as your boiler runs through a full heating cycle. If the pressure needle climbs rapidly from 15 PSI towards 30 PSI, the system’s expansion is not being absorbed.
- Isolate the Cause: Based on these steps, you can confidently determine the cause. Water from the air valve means a new tank is needed. If the tank seems okay but pressure still spikes, the issue is likely an incorrect air charge or an undersized tank.
Air pressure: why must you charge the expansion tank when it’s empty of water?
If your expansion tank’s bladder is intact but your relief valve still leaks during heating cycles, the next suspect is an incorrect air charge. The air pressure on the “dry” side of the bladder must be correctly set to match the system’s static water pressure. For most residential hydronic systems in Quebec (1-2 story homes), this “fill pressure” is 12 to 15 PSI. The rule is simple: the tank’s pre-charge must equal the system’s cold fill pressure. If the air charge is too low, the water will compress the air too easily, partially filling the tank before thermal expansion even begins and reducing its acceptance capacity. If it’s too high, the system’s water pressure won’t be strong enough to push against the bladder, rendering the tank useless.
Here is the critical, non-negotiable rule of charging a tank: you must set the air pressure when the tank has zero water pressure on it. Attempting to add air while the tank is connected to a pressurized system is like trying to inflate a tire while a car is sitting on it; the reading will be artificially high and completely incorrect. To do it properly, the tank must be isolated from the system and all its water drained. Only then can you use a low-pressure tire gauge (a standard automotive one is not accurate enough; you need one with a 0-30 PSI range) to check and set the pressure to match your system’s static fill pressure (typically 12 PSI). This ensures the bladder is in the correct starting position, ready to accept the full volume of expanded water when the boiler fires up.
This procedure guarantees that the air cushion is properly established. Once charged to the correct PSI, the tank can be reconnected, and the system can be slowly refilled with water, establishing a perfect equilibrium between the water pressure and the air pre-charge. Getting this step right is fundamental to a stable, safe, and efficient heating system.
Expansion volume: what happens if your tank is too small for your system?
Sometimes, the expansion tank works perfectly, its bladder is intact, and its air charge is correct, yet the relief valve continues to weep. In this scenario, we must consider a more fundamental design flaw: the tank may simply be too small for the system’s volume and boiler output. The amount water expands is a direct function of its volume and the temperature change. A larger system with more water or a powerful boiler that creates a higher temperature differential will generate a much larger expansion volume. If the tank’s “acceptance volume” (the space available for water to expand into) is less than the system’s expansion volume, the excess pressure has nowhere to go but out the relief valve.
This is not just an annoyance; it’s a serious safety concern. A constantly weeping relief valve can lead to mineral buildup and scale, potentially causing it to seize. As one expert starkly warns, this can have fatal consequences. In one incident, a relief valve rated for 30 PSI failed to open until pressure reached a staggering 1,500 PSI due to scale formation.
A relief valve was a contributing factor in a fatal boiler accident as scale formed on the relief valve, prohibiting it from opening properly. The relief valve, rated for 30 psig, was tested after the accident and did not open until the pressure reached 1,500 psig.
– Ray Wohlfarth, Plumbing & Mechanical Magazine
Ensuring your tank is correctly sized for your home’s specific heating system is vital. In Quebec, with its diverse housing stock from small condos to large Montreal triplexes, a one-size-fits-all approach is dangerous. Sizing depends on factors like boiler BTU output and total system water volume.
| Boiler Output (BTU) | Recommended Tank Size | Quebec Home Type |
|---|---|---|
| 25,000 – 50,000 | PMET-2 (2 gallons) | Small condo/apartment |
| 75,000 – 150,000 | PMET-5 (5 gallons) | Average single-family home |
| 175,000 – 200,000 | PMET-7 (7 gallons) | Large home/duplex |
| 200,000 – 400,000 | PMET-14 (14 gallons) | Montreal triplex/older mansion |
Point of zero pressure change: why is the tank’s location relative to the pump is vital?
In the world of hydronics, few concepts are as critical yet as misunderstood as the “Point of Zero Pressure Change,” or PZPC. This is the exact point in the system where the expansion tank connects to the main piping. Understanding its significance is key to diagnosing more subtle pressure problems. The circulator pump, which moves water through your radiators or radiant flooring, doesn’t create pressure; it creates a pressure *differential*. It lowers pressure on its inlet (suction) side and increases it on its outlet (discharge) side. The expansion tank, acting as the system’s pressure reference point, should ideally be located on the suction side of the pump, just before the water enters it.
Why is this so important? When the pump is positioned to “pump away” from the expansion tank, the entire system remains positively pressurized when the pump runs. The pump adds its pressure head to the system’s static pressure, ensuring water can reach the highest radiators and preventing air from being drawn into the system through micro-leaks. However, if the tank is installed on the *discharge* side of the pump, a critical error occurs. The pump will draw water from the system, creating a pressure drop on its suction side that can fall below zero (a vacuum). This can cause air to be sucked in, leading to noise, poor circulation, and corrosion. Furthermore, it means the pump is “pumping towards” the point of zero pressure change, which can lead to erratic pressure readings and make the system much harder to properly bleed of air.
For the homeowner, this means that if you’re experiencing persistent gurgling noises, air in your radiators, and strange pressure fluctuations that aren’t solved by a new tank or a proper air charge, it’s worth inspecting the plumbing layout. Find your circulator pump (a small motor connected to the pipes near the boiler) and your expansion tank. The piping should be configured so that the pump is pushing water *away* from the tank connection point and out into your home. If it’s the other way around, you have a fundamental installation issue that only a qualified CMMTQ-certified technician can correct.
Potable thermal vs. heating tanks: don’t confuse the colours and pressures!
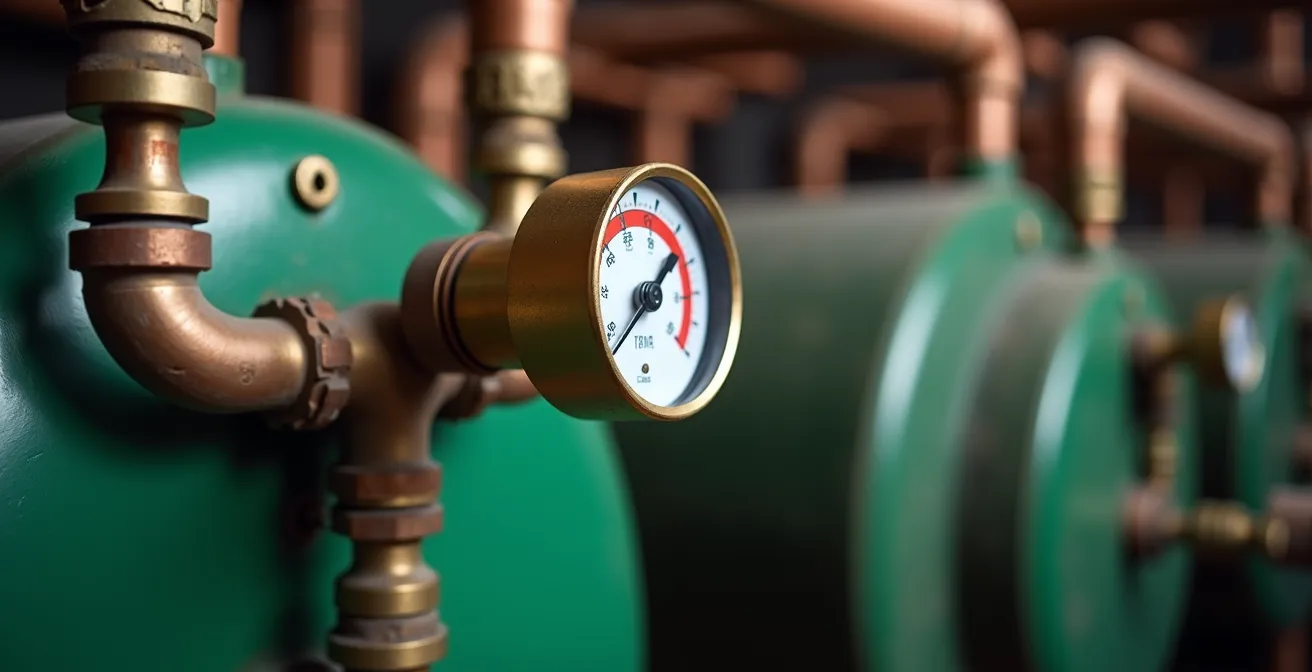
A mistake that can be both costly and dangerous is confusing an expansion tank designed for a heating system with one designed for a potable (drinkable) hot water system. While they look similar and perform a similar function—absorbing thermal expansion—they are built for vastly different operating environments. Making the wrong choice will lead to immediate system malfunction and potential safety hazards. The most obvious difference is often their colour: heating expansion tanks are typically red or grey, while potable water expansion tanks are almost always blue or white.
The differences go far beyond aesthetics. The core distinction lies in their operating pressures and internal construction. A closed-loop hydronic heating system operates at a very low pressure; as we’ve discussed, the static fill pressure is typically 12-15 PSI. The tank and its bladder are designed for this low-pressure environment. In stark contrast, a potable water system is connected to your municipal water supply, which in many parts of Quebec operates at a much higher pressure. The difference is significant, as heating system tanks operate at 12-15 PSI while potable water systems require tanks designed for pressures of 50-60 PSI or even higher. Installing a red heating tank on your hot water heater will cause its bladder to rupture almost immediately under the high municipal pressure.
Conversely, installing a blue potable water tank on your boiler is also incorrect. These tanks are pre-charged from the factory to around 40 PSI, far too high for a 12-PSI heating system. The boiler’s low water pressure would never be able to compress the bladder, and the tank would fail to absorb any expansion, leading directly to the relief valve discharging. Furthermore, the internal components and linings of potable tanks are certified to NSF/ANSI 61 standards to ensure they are safe for drinking water, a requirement not present for heating tanks. Always match the tank to the application: red for heating, blue for potable hot water.
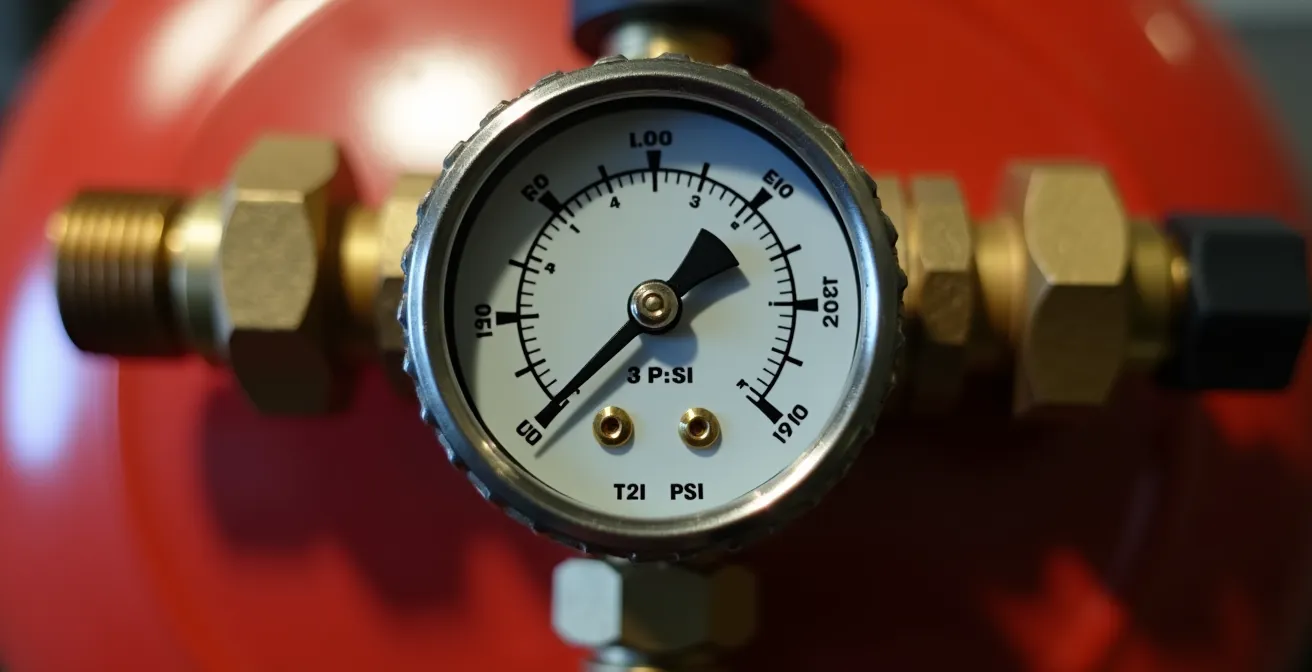
The Tridicator gauge: how to read your system’s health at a glance?
Your boiler’s most important diagnostic tool is a simple dial on the front: the Tridicator. This combination gauge provides three critical pieces of information in one place: water temperature, operating pressure (in PSI), and sometimes altitude (in feet). Learning to read and interpret this gauge is like learning to read a patient’s vital signs; it tells you the health of your system at a glance. For our purposes, the pressure reading is the most crucial. The gauge will typically have two needles: a black one showing the current pressure and a red one that is often manually adjustable to mark the desired maximum pressure.
When the system is cold, the black needle should be resting in the 12-15 PSI range. This is your static fill pressure. As the boiler fires and the water heats up, you should see this needle rise, but it should stabilize well below 30 PSI, typically in the 20-25 PSI range. If you see the needle climbing relentlessly towards the 30 PSI mark (which is almost always marked in red), you know your system is not absorbing thermal expansion correctly, and the relief valve is about to do its job. A technical expert from Plumbing & Mechanical Magazine notes that checking the Tridicator is the very first step in any service call. The required pressure is directly related to the height of the building; it takes about 1 PSI to lift water 2.3 feet. So, for a home with radiators 25 feet above the boiler, you’d need a minimum of 25 / 2.3 = ~11 PSI of fill pressure just to get water to the top.
The Tridicator also helps diagnose low-pressure situations. If the gauge reads below 12 PSI when cold, the system may not have enough pressure to circulate water to the highest radiators, leading to cold spots and gurgling noises. Most modern Tridicators have color-coded zones, with a green arc indicating the safe operating range (e.g., 12-25 PSI). If your needle is in the red, either high or low, it’s a clear signal that your system requires immediate attention before a minor issue becomes a major failure.
High water pressure: why does it damage your appliances?
While our focus is the boiler’s relief valve, the problem of high pressure isn’t confined to your heating system. Uncontrolled pressure spikes can wreak havoc throughout your home, causing premature failure of expensive appliances and fixtures. Your washing machine, dishwasher, ice maker, and hot water tank all contain internal valves and seals designed to operate within a specific pressure range. When subjected to the violent pressure surges caused by a failed expansion tank, these components are put under immense stress. This is what causes that loud “bang” or “water hammer” sound when a valve closes abruptly—it’s a shockwave of pressure traveling through your pipes.
Consistently high pressure significantly shortens the lifespan of these appliances. A solenoid valve in a dishwasher rated for 80 PSI might fail in a year or two instead of lasting a decade if it’s constantly hit with pressure spikes of 100 PSI or more. The flexible hoses connected to your washing machine are particularly vulnerable to bursting, which can cause catastrophic water damage. The boiler itself is also at risk; beyond the relief valve, other components like gaskets, seals, and the circulator pump can be damaged by operating outside their designed pressure limits.
It’s essential to monitor your boiler’s pressure gauge regularly. The needle should remain within the safe operating range, typically marked in green (between 1 and 1.5 bar, or 15-22 PSI). If the pressure is consistently high, even when the system is not actively heating, you may have an issue with your home’s main pressure-reducing valve (PRV), not just the boiler’s expansion tank. If the pressure is high and your boiler is leaking, it’s a clear sign the system is trying to protect itself. Bleeding a radiator can be a temporary fix to release some pressure, but it does not solve the underlying cause. Ignoring these warning signs is an invitation for a much more expensive failure down the line.
Key Takeaways
- A leaking relief valve is a symptom, not the root cause. The problem is almost always a failed expansion tank.
- You can diagnose a failed tank by tapping it (a dull thud means it’s waterlogged) or checking for water at the air valve.
- An expansion tank must be charged to the system’s cold fill pressure (12-15 PSI) while it is empty of water.
Why Does an Emergency Plumber Cost 3x More Than Scheduled Maintenance?
That drip from your relief valve may seem minor, but ignoring it until it becomes a gusher in the middle of a cold January night transforms a manageable repair into a costly emergency. The financial difference between proactive maintenance and reactive emergency service is staggering. In Quebec, calling a plumber for a non-urgent issue during regular business hours is one thing, but an after-hours or holiday emergency call comes with a significant premium for labour, dispatch, and prioritizing your crisis over other scheduled work. This premium isn’t just a convenience fee; it covers the operational costs of having a certified technician on standby 24/7.
Let’s look at the numbers. While the average hourly rate for CMMTQ certified plumbers ranges from $91 to $156 during standard hours, this can easily double or triple for emergency service. Data specific to Quebec shows a clear escalation in costs based on the time of the call.
A scheduled annual boiler maintenance plan, which would almost certainly catch a failing expansion tank, might cost between $150 and $250. This single visit can prevent a future emergency call that could easily cost over $500 to $1,500. The math is simple: investing a small amount in prevention saves a large amount on a cure. The stress of a cold house and water damage only adds to the non-financial cost of an emergency.
| Service Type | Hourly Rate | Typical Total Cost |
|---|---|---|
| Regular Hours (8AM-5PM weekdays) | $80-$120/hr | $130-$520 simple repairs |
| After Hours/Weekends | $150-$250/hr | $300-$800+ with callout |
| Emergency (nights/holidays) | $200-$350/hr | $500-$1500+ minimum |
| Annual Maintenance Plan | N/A | $150-$250/year |
Now that you can diagnose the problem and understand the financial stakes, the next logical step is to secure your system’s health. For any work involving your boiler, especially component replacement or pressure adjustments, engaging a licensed and insured CMMTQ-certified technician is the safest and most effective course of action.
Frequently Asked Questions about Leaking Relief Valves
What causes a pressure relief valve to leak continuously?
A continuous leak, as opposed to one that only happens during a heating cycle, can be a sign of a few things. While periodic discharge is often due to thermal expansion in a closed system, a constant drip might mean the valve seat itself is fouled with debris and can’t close properly. However, it’s most often caused by a serious expansion tank defect (waterlogged, leaky, or a damaged internal bladder) which is causing system pressure to stay consistently above the valve’s relief setting.
Can I test the relief valve myself?
While you can manually lift the lever on a T&P (Temperature and Pressure) relief valve to test if it opens, this is strongly discouraged by professionals. A dripping T&P valve is inherently dangerous because the very leaks it exhibits can cause mineral deposits to form, clogging the valve and preventing it from opening under true emergency conditions. If a relief valve becomes clogged and pressure builds uncontrollably, the result could be a catastrophic boiler explosion (a BLEVE). The cause of any leak must be found and fixed promptly by a qualified professional.