In summary:
- True plumbing savings in Quebec come from intelligent system design, not just shorter pipes.
- Mastering the Quebec Construction Code for fixture loads and wet venting is non-negotiable.
- Grouping wet zones (kitchen, bath) and stacking them vertically are the most powerful cost-reduction strategies.
- Planning for future needs like a basement bathroom during the initial build is a massive long-term investment.
- Accurate plumbing plans, including an isometric DWV diagram, are essential for first-try permit approval.
For architects and self-builders in Quebec, the cost of plumbing is a significant line item that often seems rigid and unavoidable. The conventional wisdom is to simply “keep pipes short,” a piece of advice so generic it’s barely useful. The cycle of complex layouts leading to sprawling pipe networks, high material bills, and extensive labour hours feels inevitable. Many designs prioritize aesthetics first, treating plumbing as an expensive afterthought to be forced into the plan, often at great expense.
But this approach overlooks the fundamental truth: the most significant savings are achieved on paper, long before the first pipe is ever cut. The real key to cost optimization isn’t about chasing minor material discounts; it’s about engineering an efficient hydraulic system from the outset. This means shifting the focus from simply connecting fixtures to designing a minimalist, multi-functional network that leverages the principles of fluid dynamics and adheres to the specific efficiencies permitted by the Quebec Construction Code.
This guide abandons the platitudes. Instead, it provides a strategic framework for designing plumbing layouts with an engineer’s mindset. We will deconstruct the core principles of hydraulic load management, explore intelligent layout configurations like back-to-back walls, demystify code-compliant venting strategies that save hundreds of dollars, and analyze how to plan for the future without breaking the bank today. It’s time to treat your plumbing plan not as a cost center, but as a masterpiece of design efficiency.
To navigate these critical design decisions, this article breaks down the essential strategies into a clear, logical progression. The following summary outlines the key areas we will explore to help you build a smarter, more cost-effective plumbing network.
Summary: A Strategic Guide to Cost-Effective Plumbing System Design
- Hydraulic Load Units: How to Avoid Exceeding Your Water Service Capacity
- Back-to-Back: Why Placing Kitchen and Bathroom on the Same Wall Saves Thousands
- How to Vent Three Fixtures with a Single Pipe Without Siphoning Water Seals
- Recirculation Loop vs. Fixture Grouping: Which Strategy for Hot Water in 5 Seconds?
- Planning Basement Plumbing During Construction: The Smart Investment
- What Plumbing Plans to Provide the City to Get Your Permit on the First Try
- Recirculation Loop: Gravity (Thermosiphon) or Forced Pump for Your Renovation?
- How to Identify if Your Main Water Line Is Made of Lead
Hydraulic Load Units: How to Avoid Exceeding Your Water Service Capacity
Before designing any layout, the first principle is to understand your system’s total capacity. In plumbing, this isn’t measured in litres per minute, but in Fixture Units (FU). The Quebec Construction Code assigns a specific FU value to every appliance—a toilet, a sink, a shower, a dishwasher. These values represent the probable hydraulic demand each fixture places on the drainage system. Your entire design is constrained by the total FU capacity of your main water service and drain lines. A typical 3/4-inch residential service in Quebec can handle a certain load, and exceeding it leads to poor performance, gurgling drains, and potential code violations.
Calculating your total FU load is a non-negotiable first step. It involves listing every single water-consuming appliance in your plan and summing their individual FU values as specified in the code. This calculation dictates critical design decisions. If your dream bathroom includes a multi-head shower, a soaker tub, and a double vanity, you might quickly approach the system’s limit. The real-world consequence is that a project where the total load exceeds 180 fixture units requires professional plans and specifications sealed by an engineer or master plumber, adding another layer of cost and complexity.
Therefore, an ingenious designer works backward from the capacity. You must balance the desired fixtures with the hydraulic budget. This might mean choosing a standard shower over a high-demand steam shower or re-evaluating the need for a utility sink in the laundry room. Managing the FU load at the design stage is a zero-cost action that prevents thousands of dollars in potential upgrades, such as needing to excavate and replace the main water service line to the street.
Back-to-Back: Why Placing Kitchen and Bathroom on the Same Wall Saves Thousands
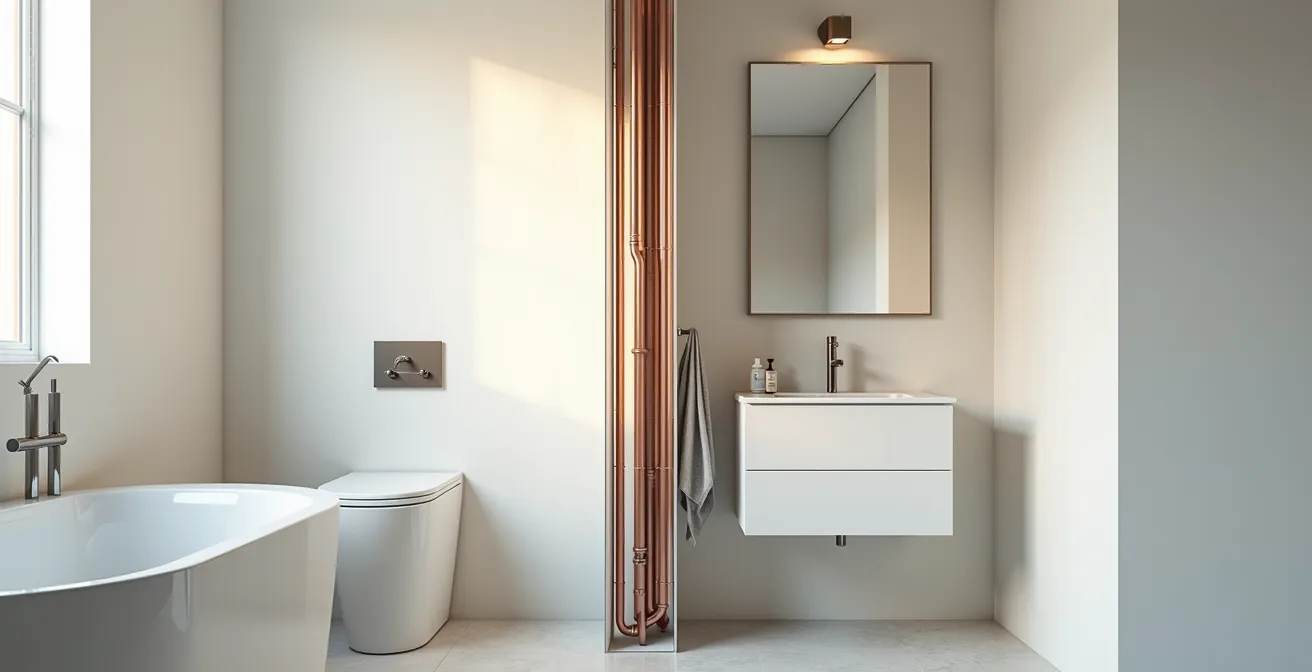
The single most effective strategy for minimizing piping costs on a single floor is the back-to-back layout. This simple yet powerful concept involves designing your kitchen and a bathroom (or two bathrooms) to share a common “wet wall.” By doing so, the sink, dishwasher, toilet, and shower from both rooms can all be connected to the same set of supply (hot and cold water) and drainage (DWV – Drain-Waste-Vent) pipes housed within that single, slightly thicker wall. This consolidation is the epitome of plumbing minimalism.
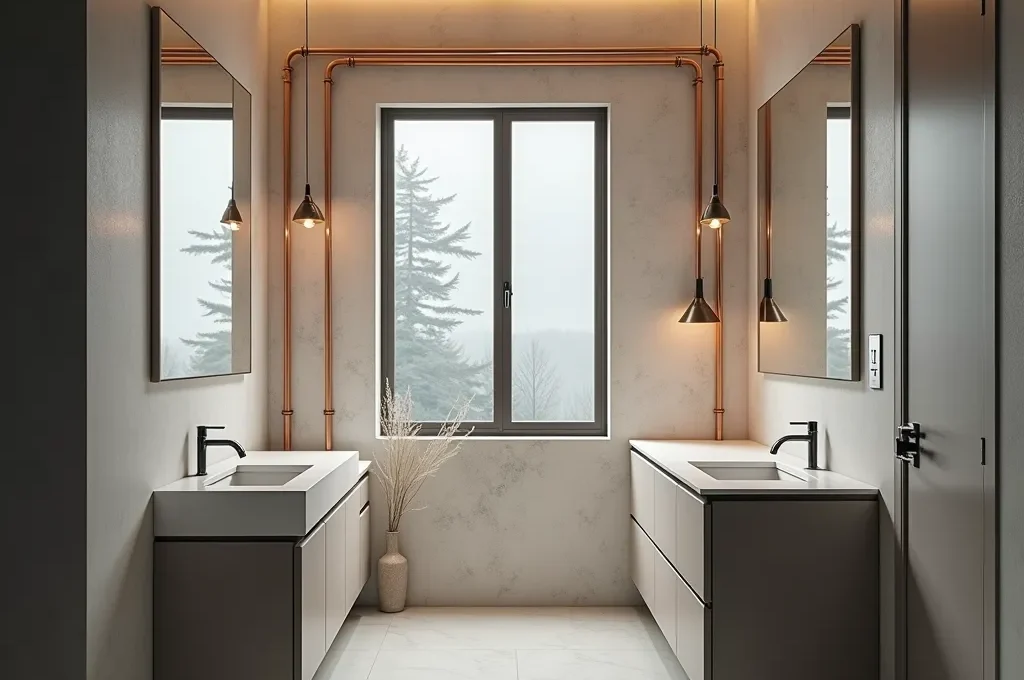
The efficiency gains are massive. Instead of running two separate, parallel sets of pipes across your floor plan, you create one central plumbing trunk. This drastically reduces the linear feet of copper or PEX required, cuts down the number of expensive fittings (elbows, tees), and significantly reduces labour time for both rough-in and finishing. As the table below illustrates, the cost difference between a consolidated and a separated layout is not trivial; it can easily run into thousands of dollars, freeing up budget for higher-quality fixtures or finishes.
This cost comparison from Canadian renovation data highlights the clear financial advantage of a consolidated plumbing design. A back-to-back configuration not only reduces direct plumbing expenses but also accelerates the entire project timeline, as shown by the analysis of renovation cost guides.
| Layout Type | Plumbing Cost | Total Renovation Cost | Time to Complete |
|---|---|---|---|
| Back-to-Back Configuration | $1,500-$2,500 | $10,000-$15,000 | 3-4 weeks |
| Separated Rooms | $4,000-$7,000 | $15,000-$22,000 | 4-6 weeks |
| Multi-Story Stacking | $2,000-$3,500 | $12,000-$18,000 | 3-5 weeks |
For multi-story homes, this principle extends vertically. Stacking a second-floor bathroom directly above the main-floor kitchen or bathroom allows them to share the same vertical DWV stack, creating a highly efficient plumbing core that serves the entire house with minimal material.
How to Vent Three Fixtures with a Single Pipe Without Siphoning Water Seals
Every fixture in your home requires a P-trap—the U-shaped pipe beneath a sink or drain that holds a small amount of water. This “water seal” is crucial as it blocks sewer gases from entering your living space. To protect this seal, every trap must be vented. A vent pipe allows air to enter the drain system behind the trap, preventing the vacuum pressure of rushing water from siphoning the seal dry. The conventional approach is to run a separate vent pipe for each fixture, leading to a complex and costly forest of pipes in your walls.
However, the Quebec Construction Code allows for a more ingenious solution: wet venting. This technique allows a single, oversized drain pipe to serve as both the drain for some fixtures and the vent for others. For example, in a standard bathroom group (toilet, sink, and shower), the 2-inch drain from the sink can also function as the vent for the shower and toilet, provided it’s all installed according to strict code requirements. This eliminates the need for two additional dedicated vent pipes, saving significantly on materials and labour. Adopting this strategy can result in substantial savings, with recent amendments to the code clarifying its use. In fact, wet venting is a key cost-reduction method, potentially saving between $800 and $1,500 per bathroom in materials and labor.
Successfully implementing a wet vent system requires precise adherence to the code. The pipe must be sized correctly, the fixtures must be connected in a specific order, and the total hydraulic load on the wet-vented section is strictly limited. It’s a prime example of where deep code knowledge translates directly into design efficiency.
Action Plan: Quebec-Compliant Wet Venting Requirements
- Ensure the wet vent pipe is a minimum of 2-inch diameter for a bathroom group including a toilet.
- Connect the highest upstream fixture (typically the sink) to serve as a continuous vent for the other fixtures.
- Verify the total hydraulic load on the pipe does not exceed the limits specified in the Quebec Code’s Table 7.5.8.1.
- Position the water closet (toilet) as the most downstream fixture in the wet vent group.
- Install accessible cleanouts at each change of direction in the drainage piping that exceeds 45 degrees.
Recirculation Loop vs. Fixture Grouping: Which Strategy for Hot Water in 5 Seconds?
A common complaint in larger homes is the long wait for hot water at a fixture far from the water heater. This wait is not just an annoyance; it’s a significant waste of water and energy, as litres of cold water are run down the drain. Two primary strategies can solve this: intelligent layout design (fixture grouping) and a technological solution (a recirculation loop). The most cost-effective solution depends entirely on the project’s stage and scale.
Fixture Grouping is the ultimate minimalist approach. It’s a design-phase strategy that costs nothing to implement. By tightly clustering all major hot water fixtures (kitchen sink, main shower, laundry) as close as physically possible to the water heater, you minimize the length of the hot water supply lines. Shorter pipes mean less cooled water sitting in the line, resulting in a much faster delivery of hot water to the tap. For new builds or compact homes, this is by far the most efficient and economical solution. It requires no extra hardware, consumes no additional energy, and is entirely dependent on smart architectural planning.
A Hot Water Recirculation Loop is a technological fix, ideal for larger homes where fixtures are unavoidably spread out or for retrofitting existing homes. This system consists of a dedicated return pipe that runs from the furthest fixture back to the water heater. A small pump (or sometimes natural convection) constantly and slowly circulates hot water through the loop. When you turn on a tap, hot water is already near the fixture, providing near-instant delivery. While the upfront cost is higher due to the extra piping and pump, it offers superior comfort and significantly reduces water waste over the long term.
Planning Basement Plumbing During Construction: The Smart Investment
For any new home construction in Quebec, one of the wisest and most cost-effective decisions is to pre-plumb the basement for a future bathroom, even if there are no immediate plans to finish the space. This strategic foresight is an investment that can save you thousands of dollars and immense disruption down the road. The process, known as a plumbing rough-in, involves installing the necessary drain and vent pipes (stub-outs) in the ground before the concrete slab of the basement floor is poured.

The cost difference is staggering. According to Canadian plumbing contractor estimates, adding a basic 3-piece bathroom rough-in costs around $1,000 during initial construction versus $7,000+ to do it later. The higher cost for a retrofit is due to the intensive labour required to break and remove the existing concrete floor, excavate trenches for the new pipes, install the plumbing, and then re-pour the concrete. This process is not only expensive but also incredibly messy, creating significant dust and disruption throughout the home.
A proper basement rough-in in Quebec requires careful planning. Key considerations include:
- Installing all underground pipes below the regional frost line, which is a minimum of 4 feet deep in most parts of Quebec, to prevent freezing.
- Including a backwater valve on the main drain line, a mandatory requirement in most Quebec municipalities to prevent sewer backups.
- Planning for a sewage ejector pump if the basement fixtures will be located below the level of the main municipal sewer line.
- Precisely documenting the location of all stub-outs with measurements and photos before the concrete pour, creating a map for the future.
This small upfront cost provides massive future flexibility, significantly increasing the home’s resale value and making a future basement renovation a far simpler and more affordable project.
What Plumbing Plans to Provide the City to Get Your Permit on the First Try
A brilliant, cost-effective plumbing design is worthless if it can’t get approved by your local municipality. In Quebec, obtaining a plumbing permit is a formal process governed by the Régie du bâtiment du Québec (RBQ) and requires the submission of clear, accurate, and code-compliant plans. A rejected application means costly delays, so preparing the correct documentation from the start is essential.
Your submission package must demonstrate to the inspector that your proposed system is safe and compliant. The centerpiece of this package is the plumbing plan itself, which must include several key components:
- An Isometric DWV Diagram: This is a 3D-style drawing showing the entire Drain-Waste-Vent system. It must clearly illustrate every fixture, drain, trap, and vent pipe, showing how they all connect and demonstrating a complete path for both waste and air.
- Pipe Sizing Calculations: The plans must show the calculated diameters for all pipes. This proves that supply lines are large enough to provide adequate pressure and drain lines are sized to handle the hydraulic load without clogging.
- Fixture Unit (FU) Totals: As discussed earlier, you must include a complete list of all fixtures and the total calculated FU load to prove your design is within the system’s capacity.
For simpler projects, a knowledgeable self-builder or contractor can often draw these plans. However, for more complex new builds or major renovations, the code is strict. As detailed in the Quebec Construction Code, when the total hydraulic load exceeds 180 fixture units, the plans must be prepared and sealed by a certified professional, such as an architect, engineer, or master plumber. Furthermore, a declaration of work must be filed with the RBQ within 20 days of starting the project, with fees that can be as high as $159.80 for a new single-family home.
Recirculation Loop: Gravity (Thermosiphon) or Forced Pump for Your Renovation?
Once you’ve decided a hot water recirculation loop is the right strategy for your home, the next choice is the type of system to install: a passive gravity-based loop or an active, pump-driven one. Each has distinct advantages and is best suited for different applications, particularly in the context of a renovation.
A Thermosiphon or Gravity Loop is an elegant, powerless solution. It operates on the simple principle that hot water rises and cold water sinks. The system is designed with the water heater at the lowest point of the loop. As water heats, it rises through the supply line. As it cools at the far end of the loop, its density increases, and it sinks back down the return line to the heater, creating a slow, continuous, natural circulation. This system is silent, has no moving parts to fail, and consumes zero electricity. However, it requires a significant vertical rise between the heater and the highest fixture, making it ideal for multi-story homes but often impractical for single-story layouts.
A Forced Pump System is the more common and versatile solution. It uses a small, low-power electric pump to actively push water through the recirculation loop. This provides reliable and consistent circulation regardless of the home’s layout, making it suitable for virtually any project. These pumps can be controlled in several ways: on a simple timer (providing hot water during peak hours), with an aquastat that activates the pump when the water temperature drops, or via an “on-demand” button near the fixture that runs the pump for a minute before you need hot water, offering the highest efficiency. While it has a higher upfront cost and minor energy consumption, its flexibility makes it the go-to for most renovations.
Key Takeaways
- Plumbing efficiency is a design discipline, not a construction shortcut. The greatest cost savings are realized at the blueprint stage.
- A deep understanding of the Quebec Construction Code, particularly regarding fixture units and venting options, is a financial asset.
- Consolidating wet zones into a central plumbing core (back-to-back and stacked) provides the most significant reduction in material and labour costs.
How to Identify if Your Main Water Line Is Made of Lead
All the intelligent design in the world is compromised if the very source of your water is contaminated. Before embarking on any major renovation in Quebec, particularly in homes built before 1970, it is critical to identify the material of your main water service line—the pipe connecting your home to the municipal water main under the street. Many older homes were built with lead service lines, which are now known to pose a significant health risk as lead can leach into the drinking water.
Identifying a lead pipe is a straightforward process you can often do yourself. The pipe is typically visible where it enters the home’s basement, usually near the main water meter and shut-off valve. Perform these simple tests:
- The Scratch Test: Use a coin or a key to gently scratch the surface of the pipe. If the scratched area reveals a shiny, silver-colored metal, it is very likely lead. A copper pipe will look like a penny, and a steel pipe will be a dull gray.
- The Magnet Test: Place a strong magnet on the pipe. Magnets will not stick to a lead pipe. If the magnet sticks, the pipe is galvanized steel, not lead.
- The Color and Hardness: Lead pipes typically have a dull, dark gray appearance and are relatively soft. You can often make a slight dent in the surface with moderate pressure from a tool.
If you discover you have a lead service line, replacement is the only permanent solution. Many Quebec municipalities have programs to help homeowners, often replacing the public portion of the line (from the street to the property line) at their cost. However, the homeowner is responsible for the private portion. According to Quebec municipal water service data, this replacement can cost between $3,000 and $5,000 for the private portion. Factoring this potential mandatory upgrade into your renovation budget from the outset is a crucial step for health, safety, and financial planning.
By applying these principles of minimalist design and code-based efficiency, your next project’s plumbing system can be a source of savings and pride, not a budgetary burden. For a detailed assessment of your specific plans, the next logical step is to consult with a certified plumbing designer or master plumber who can translate these strategies into a permit-ready blueprint.